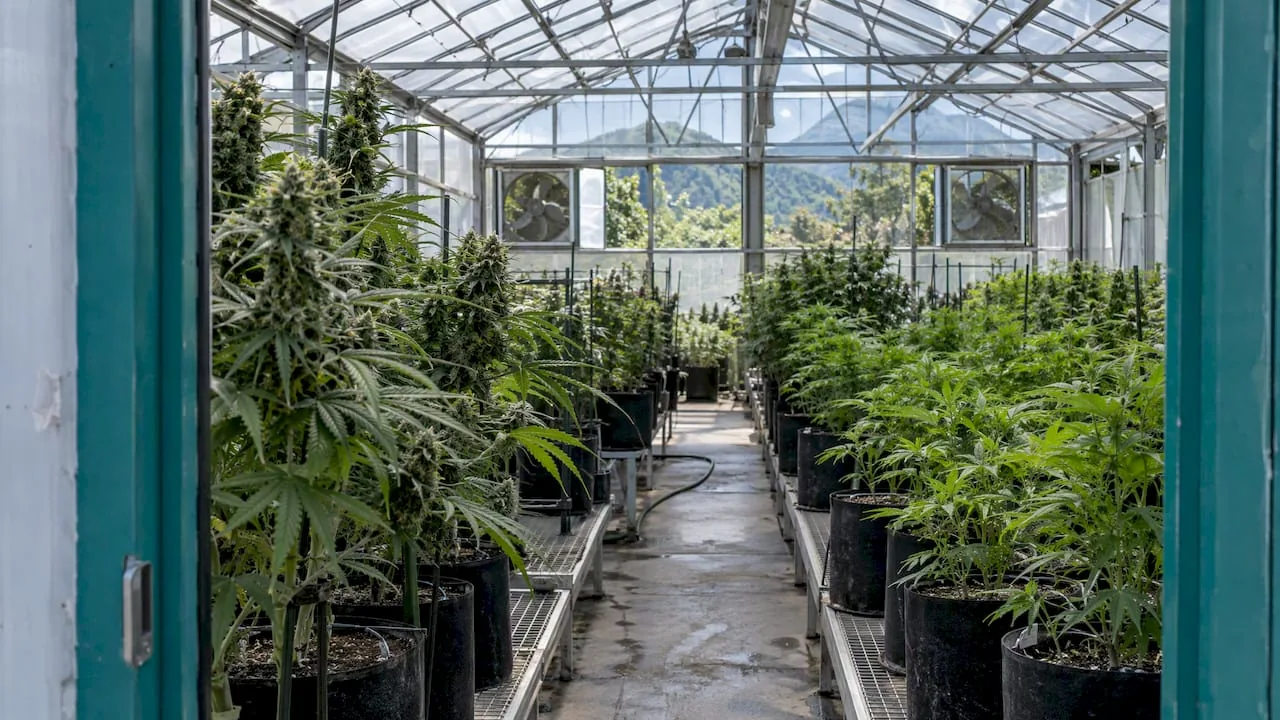


A seed germinator is a system designed to control temperature, humidity and ventilation during the initial stage of growing, maximising the success rate from day one. Without this environmental control, plant germination is left to chance. With it, results become predictable and repeatable. Brands such as HydroParadise and Agriris have shown that specialised systems can reach a success rate of 98.9% when the right conditions are maintained. If you grow cannabis or other plants and want to stop losing seeds, this guide is your starting point.
In short:
- A well-managed germinator controls temperature (18–23 °C), humidity and ventilation to maximise the germination success rate.
- Automatic systems can reach success rates of up to 98,9%, compared with 60–75% for traditional methods.
- Overwatering, compacted substrates and temperatures out of range (below 15 °C or above 28 °C) are the mistakes that cost the most seeds.
- The heat mat should always be placed underneath the germinator, never inside it, to avoid condensation and electrical risk.
- Cannabis needs total darkness for the first 24–48 hours, a temperature of 20–23 °C and relative humidity of 70–80% to germinate successfully.
How does a seed germinator work?
A seed germinator acts as an artificial microclimate that replicates the ideal soil conditions of spring. The aim is simple: to keep the seed within the exact range of temperature, humidity and aeration it needs to activate its metabolism and break through the seed coat.
The environmental factors it controls are:
- Temperature: the ideal range for most species is 18–23 °C. Tomatoes and peppers need around 25 °C to germinate effectively, so adjusting the temperature to suit the species is essential.
- Humidity: the environment should be moist but never waterlogged. Excess water is the number one cause of rotten seeds.
- Ventilation: air circulation prevents mould and regulates CO₂ around emerging seedlings.
- Drainage: a good drainage system removes excess water passively, without manual intervention.
Automatic models, such as those distributed by Agriris, manage humidity and drainage cycles without you having to intervene. Automatic germinators remove the manual workload of rinsing and draining, improving the uniformity of the sprouts. This means fewer weak seedlings and more usable harvest.
Manual systems, on the other hand, require you to check the moisture several times a day. They are cheaper, but the margin for error is greater, especially if you have no experience.
💡 Pro tip: Always place the thermometer and hygrometer inside the germinator, not outside. The outside temperature can differ by up to 5 °C from the inside, and that difference ruins a perfectly planned germination.
Types of germinators: traditional, automatic and homemade
Choosing between the different types of germinators depends on your budget, the space available and the number of seeds you handle. Each option has real advantages and specific limitations.

Traditional germinators
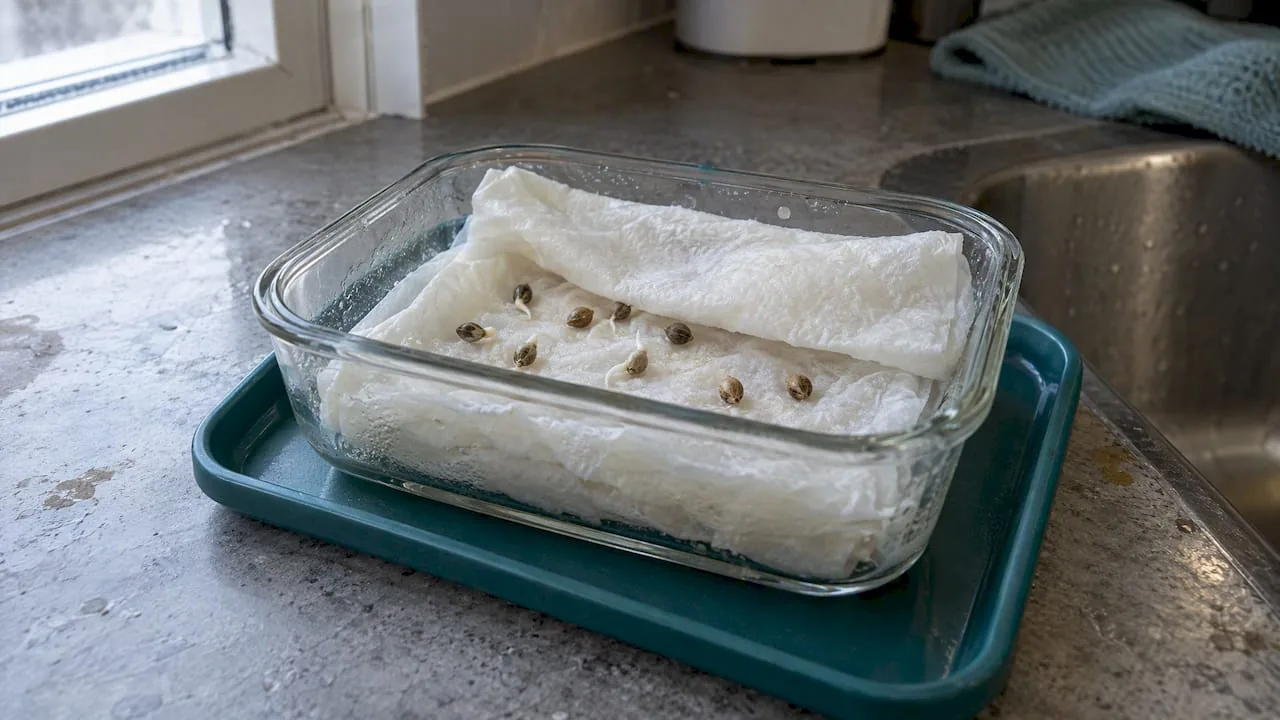
These are seed trays with a transparent lid, sometimes combined with the damp kitchen paper method. They work well for small quantities and are the cheapest option. Their main weakness is that they depend entirely on your daily attention.
Automatic germinators
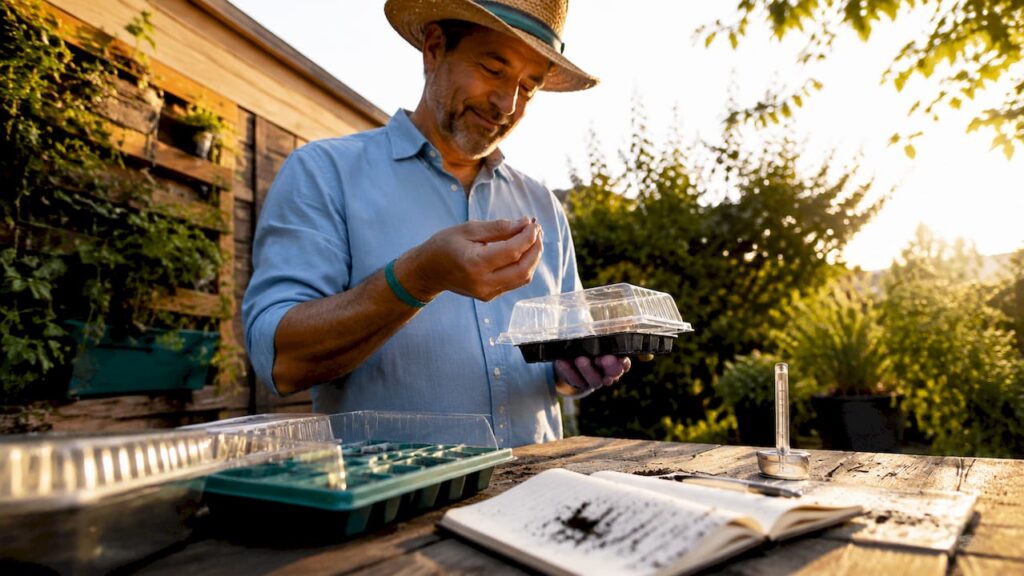
They include scheduled watering systems, temperature control and, in some cases, built-in LED lighting. Automatic watering keeps humidity levels constant, preventing shoots from being damaged by waterlogging. They are the best option if you germinate regularly or handle more than 20 seeds at a time.

Home germinators
You can build one with basic materials. Plastic germination boxes should have plenty of small holes to maintain suitable humidity and aeration. Avoid wood: wooden seed trays absorb water and encourage fungi. Hard plastic or polystyrene are inert materials that maintain proper hygienic conditions.
Comparison of germinator types
| Type | Approximate cost | Ease of use | Estimated success rate |
|---|---|---|---|
| Traditional (tray + lid) | 5–20 € | High | Medium (60–75%) |
| Homemade (plastic or polystyrene) | 10–30 € | Medium | Medium-high (70–80%) |
| Automatic with programmed control | 50–200 € | Very high | High (90–99%) |
💡 Pro tip: If you’re starting with a homemade germinator, use clear plastic containers with a lid. The transparency lets you check on the seeds without opening the container and losing humidity.
Common germination mistakes and how to avoid them
Germination failures are rarely the seed’s fault. The most common mistakes are overwatering, using old or compacted substrates and not keeping to the right temperature. A good germinator prevents most of these problems automatically.
These are the mistakes that cost the most seeds every season:
- Overwatering. Soaked substrate cuts off the oxygen the radicle needs to develop. The seed rots before it germinates.
- Compacted or old substrates. A substrate with no structure retains too much water and suffocates the seed. Always use fresh, light substrate, such as peat or coco fibre.
- Temperature out of range. Below 15 °C germination stops. Above 28 °C the embryo is damaged. Precise temperature control is the real secret for home growers to achieve uniformity and professional quality.
- Insufficient ventilation. Without air renewal, mould appears within 48 hours. Relative humidity should be kept between 70–90%, but with active circulation.
- Poorly installed heat mat. The heat mat should always be placed underneath the propagator, never inside it. Placing it inside creates dangerous condensation and an electrical risk.
Most growers who lose seeds do not have a skill problem. They have a container, substrate or temperature problem. Correct those three factors and the results change immediately.
How to choose the best germinator for your grow
The ideal germinator is not the most expensive one. It is the one that fits your growing volume, your level of experience and the space you have available. Before buying, answer these questions:
- How many seeds do you germinate per cycle? Fewer than 10: a traditional system is enough. More than 20: consider an automatic one.
- Do you have a space with a stable temperature? If your grow room drops below 18 °C at night, you need a heat mat or built-in heating.
- Are you germinating cannabis, vegetables or both? Each species has a different temperature range. A germinator with an adjustable thermostat gives you total flexibility.
Accessories that make the difference
| Accessory | Function | When to use it |
|---|---|---|
| Heat mat | Keeps a constant temperature from below | Whenever the temperature drops below 20 °C |
| Digital hygrometer | Measures humidity and temperature in real time | In any type of germinator |
| Low-consumption LED lighting | Provides indirect light after germination | When the seedlings emerge |
| Seedling trays | Organise and separate each seed | For orders of more than 10 seeds |
LED lighting during germination improves temperature control and supports the early development of seedlings. You don’t need much power: 10–20 W of full-spectrum LED is more than enough for the seedling stage.
💡 Pro tip: For ventilation without loss of humidity, make numerous small holes in the lid of your propagator rather than a few large ones. Even distribution of the airflow prevents cold spots and areas with excess condensation.
Best practices for germinating cannabis seeds
Cannabis has particularities that set it apart from other plants. The germination of cannabis seeds requires total darkness during the first 24–48 hours, a stable temperature between 20–23 °C and relative humidity of 70–80%.
Key points for germinating cannabis successfully:
- Feminised vs. regular seeds. In some phenotypes, feminised seeds have a slightly thicker seed coat. If they haven’t germinated within 72 hours, soak them for 12 hours in lukewarm water before moving them to the germinator.
- Substrate for the seedling stage. Use peat or coco fibre with the pH adjusted to 6.0–6.5. Avoid substrates with slow-release fertilisers: they burn the newly emerged radicle.
- Post-germination lighting. As soon as the cotyledon appears, seedlings need 18–20 hours of soft light. A full-spectrum LED at 30–40 cm distance is enough.
- Early transplanting. When the root is 1–2 cm long, transplant directly into the final substrate. Waiting longer increases the risk of the root curling and getting damaged.
- Seed quality. A poor-quality seed won’t germinate well even if the germinator is perfect. See our seed selection guide to find out what to look for before you buy.
Automatic sprouters make it easier to turn germination into a steady habit, making home production of fresh sprouts more accessible. For the cannabis grower, this means more predictable cycles and fewer seeds lost through carelessness.
Key points
The seed germinator is the tool that turns germination into a controlled, predictable and repeatable process, regardless of your level of experience.
| Point | Details |
|---|---|
| Environmental control is a priority | Keep the temperature between 18–23 °C and humidity at 70–80% to maximise the success rate. |
| The germinator material matters | Use hard plastic or polystyrene; wood absorbs water and encourages mould. |
| Auto beats manual on volume | Automatic systems improve uniformity and reduce failures in cycles of more than 20 seeds. |
| The heat mat always goes underneath | Placing it inside the germinator causes condensation and an electrical risk. |
| Quality seed is the starting point | No germinator can make up for a low-quality or poorly stored seed. |
What I learned after years of germinating
I have spent many years trying germination methods, from damp kitchen paper to automatic germinators with a digital thermostat, and the conclusion I have found hardest to accept is this: most failures have nothing to do with technique. They have to do with impatience.
The novice grower opens the germinator three times a day to “check”. Every time they open it, it loses humidity and temperature. The seed receives contradictory signals and either doesn’t germinate or does so unevenly. The automatic germinator solves this not because it is cleverer, but because it forces you not to intervene.
What really does change the results is the combination of three factors: constant temperature, a suitable substrate and seed of verified origin. I’ve seen growers with £200 germinators lose 40% of their seeds because they bought material of dubious origin. And I’ve seen growers with a simple plastic box and a 15 € heat mat achieve 95% germination with seeds of proven quality.
My practical recommendation: start with a simple system, master humidity and temperature control, and then invest in automation. Automation amplifies what you already know how to do well. It doesn’t fix what you don’t understand. If you want to dig deeper into the most costly mistakes, read our guide to bad seeds before your next cycle.
Start your next cycle with the right seeds
A good germinator multiplies the value of every seed you put in it. But that value starts earlier, at the moment you choose the variety. At Bluedoggenetics you’ll find a curated selection of feminised and autoflowering seeds designed for growers who want consistent results from the very first germination. Every variety goes through strict quality control and arrives with discreet shipping and order tracking. If you’d like to explore the full catalogue of seeds and accessories to equip your germinator, visit our online shop. For a solid first cycle, we especially recommend autoflowering varieties: they germinate quickly, tolerate temperature variations better and are perfect for practising with your new germination system.
Frequently Asked Questions
What temperature does a seed germinator need?
The ideal temperature for most species is 18–23 °C. Species such as tomato or pepper need around 25 °C to germinate properly.
How long does a cannabis seed take to germinate?
In optimal temperature and humidity conditions, cannabis seeds germinate in 24–72 hours. If they go past 96 hours with no response, check the temperature and the moisture level of the substrate.
Can I make a homemade germinator with basic materials?
Yes. A transparent plastic box with a lid, small ventilation holes and a heat mat underneath is enough to get good results. Avoid wood, because it absorbs moisture and encourages mould.
What is the difference between an automatic germinator and a traditional one?
The automatic system manages watering, drainage and humidity cycles without manual intervention, which improves the uniformity of the shoots. The traditional one requires daily supervision and carries a higher margin of human error.
Which substrate is best for germinating cannabis seeds?
Peat or coco coir with a pH between 6.0 and 6.5 are the most recommended substrates. Avoid mixes with slow-release fertilisers because they can burn the newly emerged radicle.
Recommendation
- Complete guide to germinating cannabis seeds – BLUEDOG GENETICS Seeds
- How to germinate cannabis seeds step by step: a practical guide
- How to grow Gelato Auto: Complete step-by-step guide for Autoflowering – BLUEDOG GENETICS Seeds
- The Ultimate Guide to Cannabis Home Cultivation in Germany – BLUEDOG GENETICS Seeds