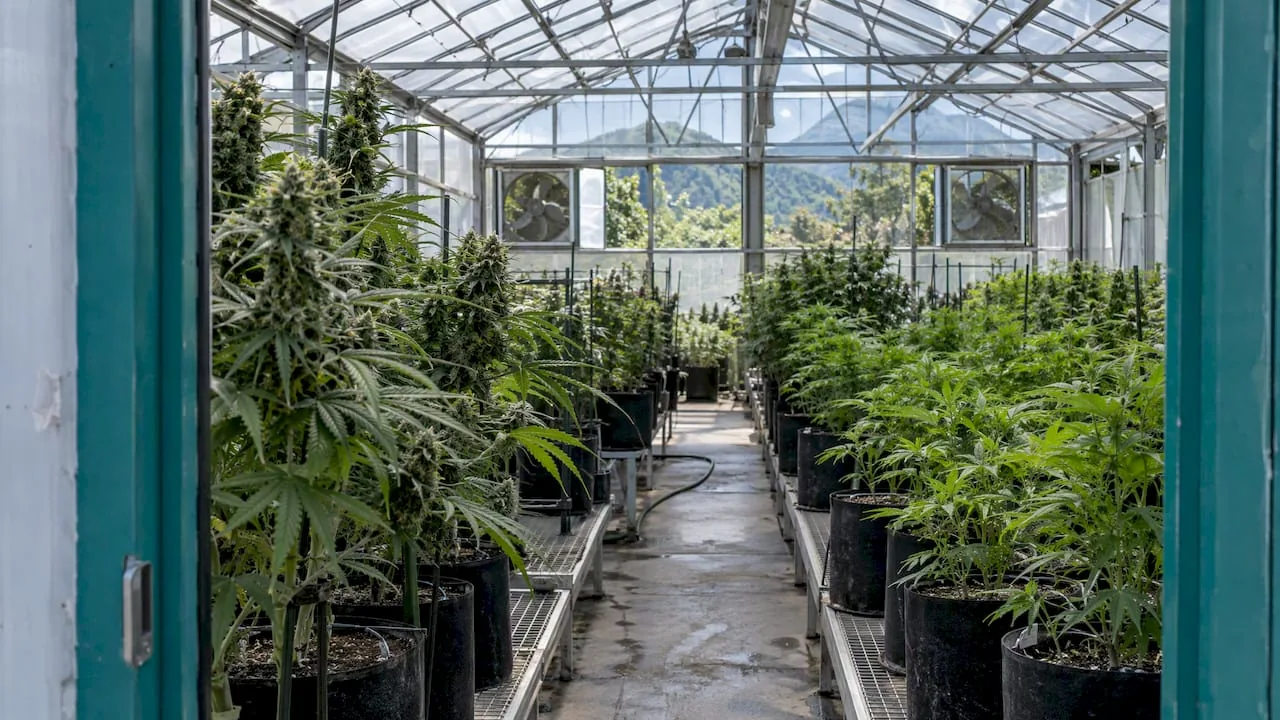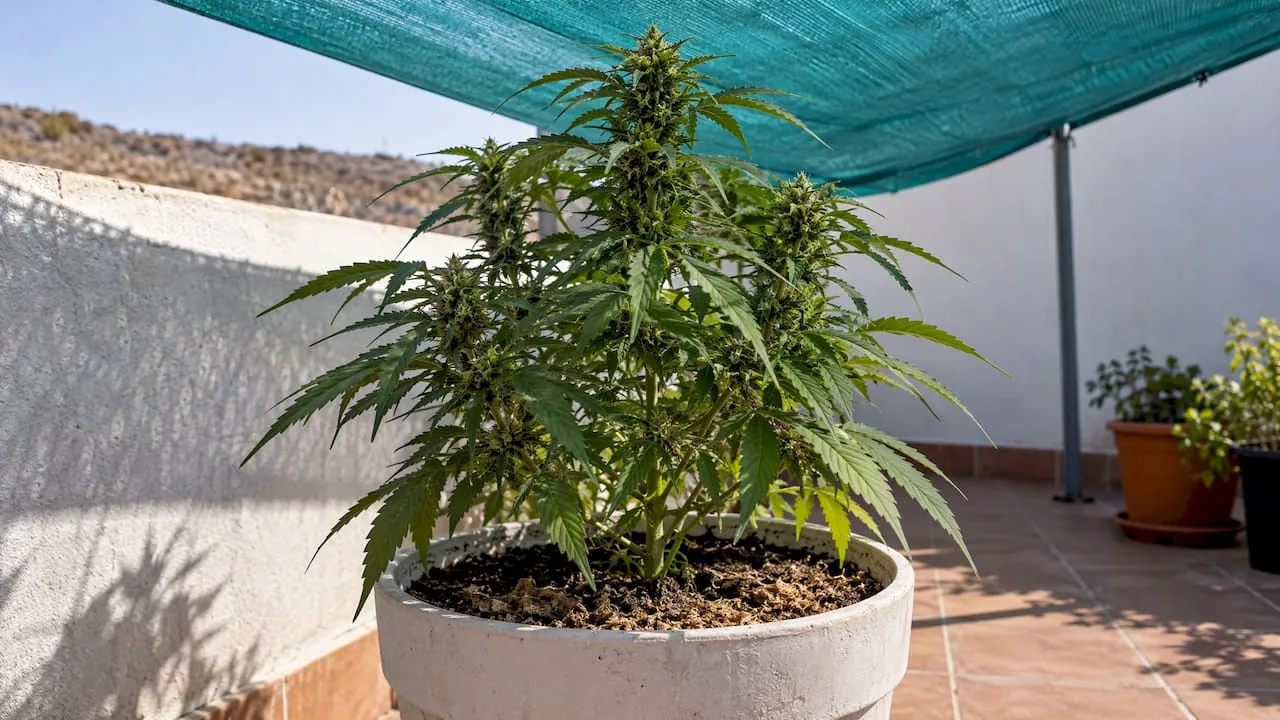



Autoflowering plants, technically known as Cannabis ruderalis varieties or day-neutral hybrids, produce their highest yield when four factors are optimised in order: genetics, lighting, nutrition and training adapted to their short cycle. Knowing how to get the most out of your autoflowering plants step by step is not a matter of applying more techniques, but of applying the right ones at exactly the right moment. These plants complete their cycle in 60 to 90 days, which means that every week lost to a watering mistake, an excess of fertiliser or poorly calibrated lighting translates directly into fewer grams at harvest. This guide covers each stage in sequence so that you understand the reasoning behind every decision.
How to choose and prepare the best genetics for high-yield autoflowering
Genetics are the ceiling of your grow. You can do everything perfectly in lighting, watering and nutrition, but if you start with seeds of low genetic stability, the yield potential will never be expressed. The first step to improving yield in autoflowering plants is to choose varieties with a documented record of high production, good structure and stress resistance.
When choosing your seeds, consider these criteria:
- Yield stated by the seed bank: Look for varieties with indoor production above 400 g/m² under controlled conditions.
- Cycle time: Autos of 65 to 75 days allow more cycles per year without sacrificing production.
- Phenotypic stability: Varieties with high uniformity between plants make crop management and light management easier.
- Resistance to pests and fungi: Especially useful in environments with variable humidity.
- Adapting to your space: Compact varieties for small spaces; more expansive genetics if you have height available.
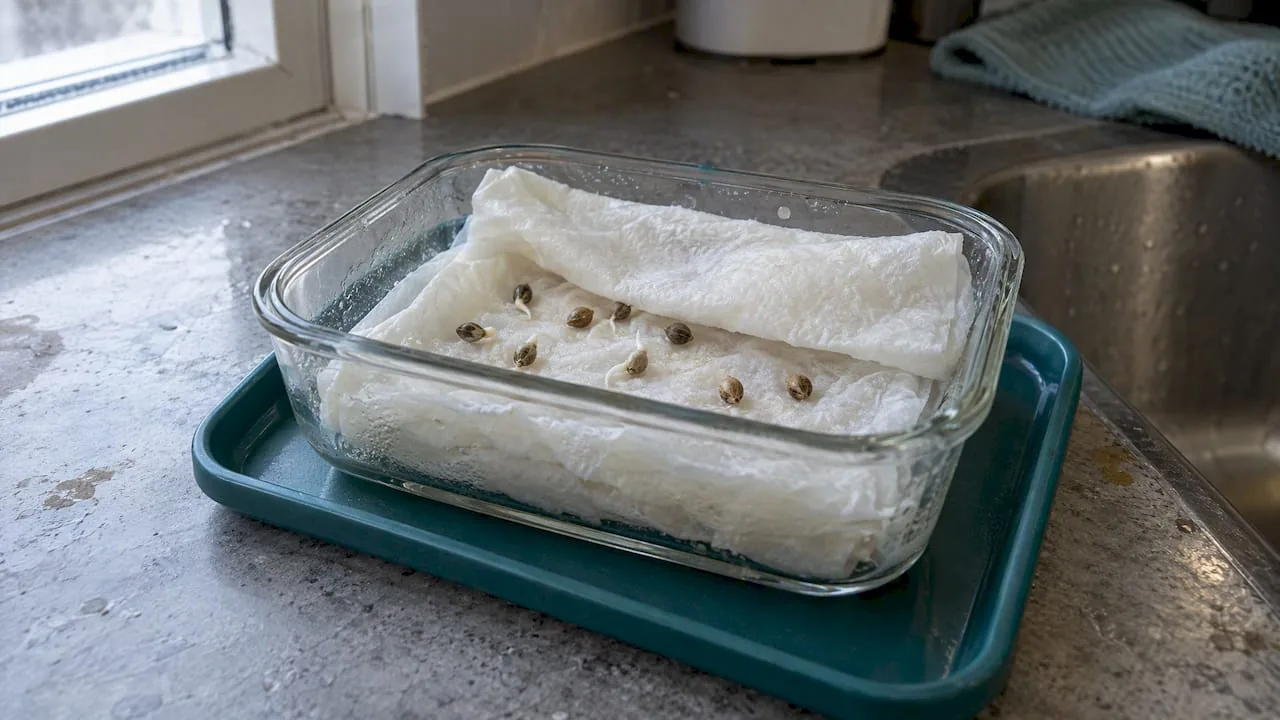
Once you have chosen your variety, preparing for germination makes all the difference. Germinate directly in the final pot to avoid transplant stress, which in autos can cost between 3 and 5 days of active growth. Take a look at a germination guide before you start to make sure the process is right from day one. Use a light substrate with good drainage, a pH adjusted to between 6.0 and 6.5, and a germination temperature between 22 and 26 °C.
How do you optimise lighting and DLI for autoflowering plants?
Light is the engine of yield. The key concept here is not just how many hours you light the plants for, but how much photosynthetic energy the plant receives each day. This is measured with the DLI (Daily Light Integral), which expresses the moles of photosynthetically active photons per square metre per day.

The optimal DLI for autoflowering plants indoors is between 30 and 40 mol/m²/day without supplementary CO2. Going beyond that threshold does not produce a higher yield. On the contrary, a DLI above 40 mol/m²/d causes photoinhibition, with symptoms such as bleached top leaves, burnt tips and foxtailing, clear signs that the plant is receiving more light than it can process.
| Growth phase | Recommended PPFD (µmol/m²/s) | Hours of light | Approximate DLI (mol/m²/day) |
|---|---|---|---|
| Seedling (weeks 1-2) | 200-400 | 18h | 13-26 |
| Vegetative (weeks 2-4) | 400-600 | 18-20h | 26-43 |
| Flowering (weeks 4-9) | 600-900 | 18h | 39-58 |
To measure PPFD correctly, you need a quantum PAR meter, not a conventional lux meter. Lux meters measure brightness visible to the human eye, not photosynthetic photons. Take readings at several points across the canopy and average the values to get a realistic estimate of the DLI each plant is receiving.

The most efficient photoperiod for autoflowering plants indoors is 18 hours of light with 6 of darkness, using full-spectrum LEDs with a power of between 30 and 40 W per plant. Autos respond well to 18-20 hours of light, and even to 24 continuous hours, but a 12/12 photoperiod is not suitable for maximising yield in day-neutral varieties.
💡 Pro tip: If you can’t invest in a PAR meter, adjust the distance of your LED following the manufacturer’s recommendations for the target PPFD and watch the colour and posture of the upper leaves. If they curl downwards or lose colour, reduce the intensity before visible damage appears.
What nutrient and watering management promotes maximum growth?
Nutrition for autoflowering plants follows a clear logic: high nitrogen during vegetative growth, high phosphorus and potassium during flowering. The most common mistake among novice growers is applying adult doses from day one. Autos are sensitive to overfeeding precisely because their cycle doesn’t give them time to recover from a nutrient lockout.
The right strategy is to start with low doses and scale up gradually:
- Weeks 1-3 (growth): Fertiliser with an N-P-K ratio high in N, such as 3-1-2. Dose at 25-50% of what is indicated on the packaging.
- Weeks 4-6 (transition): Gradually reduce N, increase P and K. Approximate ratio 1-3-2.
- Weeks 6-8 (full flowering): Flowering fertiliser with a 0-3-3 ratio or similar. Add terpene boosters if your budget allows.
- Weeks 8-9 (final flush): Only water with adjusted pH to clear accumulated salts from the substrate.
Balanced nutrition significantly increases yield without stressing the plant. This means that moderation is not timidity, it’s technique.
The pH of the water and nutrient solution should be kept between 6.0 and 6.5 in soil, and between 5.5 and 6.0 in coco or hydro. Outside that range, nutrients become locked out even if they are present in the substrate. Check the pH at every watering with a calibrated digital meter. When it comes to watering, the right frequency depends on the size of the pot, the temperature and the growth stage. The rule of thumb is to water when the top 2-3 cm of the substrate feel dry to the touch, avoiding waterlogging, which suffocates the roots.
What are the best training techniques for autoflowering plants?
Training autoflowering plants has a golden rule: less is more, and timing is everything. The short cycle of these plants limits their ability to recover, so aggressive techniques such as topping, FIM or supercropping applied after week 4 can cost more yield than they generate.
The most effective and safest method is LST (Low Stress Training), which involves bending and tying down the branches to open up the plant’s structure and expose more growth points to direct light. Here is the step-by-step process:
- Week 2: When the plant has 4-5 nodes, gently bend the main stem to one side using clips or soft wire. Don’t cut or pinch it.
- Week 3: Keep guiding the side branches outwards to create a fan-shaped structure. The aim is for all the colas to end up at the same height.
- Week 4: Adjust the anchors if the plant has grown. This is the last recommended week for active training interventions.
- Week 5 onwards: Remove only the yellow or heavily shaded leaves that receive no light. Don’t remove more than 10-15% of the foliage in a single session.
LST techniques are the most recommended for autoflowering plants precisely because they don’t interrupt active growth. Topping can work in weeks 2-3 with long-cycle varieties, but with 65-day Autos the risk outweighs the benefit.
💡 Pro tip: Photograph your plant every two days during training. This lets you spot whether a branch is under too much tension before damage appears, and it also helps you learn how each genotype responds to LST so you can adjust your technique in the next cycle.
Controlled stress is the key to yield in autoflowering plants. The short cycle limits recovery, which is why gentle, well-timed training produces more than aggressive interventions.
How do you prepare the environment and avoid common mistakes with autoflowering plants?
A stable environment is as important as technique. A plant under constant heat or water stress cannot express its genetic potential, regardless of the quality of the seeds or the precision of the feeding.
The environmental control parameters you need to maintain are:
- Temperature: Between 22 and 28 °C during the day, not dropping below 18 °C at night.
- Relative humidity: 60-70% in the vegetative stage, 40-50% in flowering to prevent Botrytis.
- Ventilation: A constant airflow that gently moves the leaves without creating direct cold draughts on the plants.
- Pot size: Between 7 and 18 litres for autoflowering plants. Fabric pots provide better root aeration than rigid plastic ones.
The most common mistakes that reduce yield are late transplanting, overwatering and overfertilising in the first few weeks. Avoiding late transplants and excessive watering is key to not losing days of growth with autos, whose short cycle doesn’t forgive water stress or root damage. Germinate directly in the final pot and water sparingly until the root system is well established.
To set up a growing space that makes it easier to control all these factors from the start, check out this guide to your grow room before starting your next cycle.
Key points
Maximum yield in autoflowering plants depends on a stable environment, the starting genetics and gentle training applied at the right moment, not on the number of techniques piled up.
| Point | Details |
|---|---|
| Genetics as a foundation | Choose stable, well-documented high-yield varieties before investing in techniques. |
| DLI between 30-40 mol/m²/day | Keep the daily light dose within that range to maximise photosynthesis without causing photoinhibition. |
| Progressive nutrition | Start at 25-50% of the recommended dose and scale up according to the stage, prioritising N in growth and P/K in flowering. |
| LST before week 4 | Low-stress training applied in weeks 2-4 increases yield without interrupting the cycle. |
| Always a stable environment | Constant temperature, humidity and pH are worth more than any advanced technique applied to a stressed plant. |
What I learned growing autos: stability over complexity
When I started growing autoflowering plants, I made the classic mistake of wanting to apply everything I had learnt with photoperiod plants. Topping in week 3, nutrient changes every two days, light adjustments every week. The result was plants that reached flowering stressed and produced half of what their genetics promised.
What changed the way I grow autos was understanding that yield depends more on not losing days of growth than on applying complex techniques. Every time you intervene aggressively, the plant spends energy recovering instead of growing. With a 70-day cycle, you can’t afford that loss.
My practical recommendation is this: choose a proven strain, set up a stable environment before germinating, apply gentle LST between weeks 2 and 4, and let the plant do its work. Learn to read its leaves, its colour and its structure. Every cycle teaches you something that no article can fully explain. Keep a grow diary with photos and notes on pH, temperature and nutrient doses. When you grow the same variety again, you will have real data to improve with, not guesswork.
Autos are plants that reward consistency. Not technical heroics.
Start with the right genetics from Bluedoggenetics
Everything you have read in this guide stems from a principle that never changes: without good genetics, the ceiling of your grow is low from day one. At Bluedoggenetics you will find a curated selection of premium autoflowering seeds with high-yielding varieties, short cycles and proven phenotypic stability. Every seed arrives with discreet shipping and a quality guarantee, so you can apply every step of this guide with confidence that the genetic material is up to the task. If you are a beginner, you can also read the guide on the advantages of autoflowering cannabis to choose the variety that best suits your space and experience.
FAQ
How many hours of light do autoflowering plants need indoors?
The most recommended photoperiod is 18 hours of light and 6 of darkness. Autoflowering plants are day-neutral and don’t depend on the light cycle to flower, but more hours of light increase the DLI and photosynthetic output.
Can you top autoflowering plants?
Topping is possible in weeks 2-3 with long-cycle varieties, but with most Autos the risk outweighs the benefit. LST applied before week 4 produces more consistent results without interrupting active growth.
What pot size is best for autoflowering plants?
Pots of between 7 and 18 litres are the most suitable for autoflowering plants. Fabric pots improve root aeration and reduce the risk of waterlogging compared with rigid plastic ones.
When should you fertilise an autoflowering plant?
Start fertilising with low doses from week 2, using high-nitrogen fertilisers during growth and switching to high phosphorus and potassium from week 4-5 when flowering begins.
How do I know if my plant is getting too much light?
Signs of photoinhibition include bleached upper leaves, burnt tips and foxtailing. If you notice these symptoms, reduce the light intensity or increase the distance between the lamp and the canopy before the damage spreads.