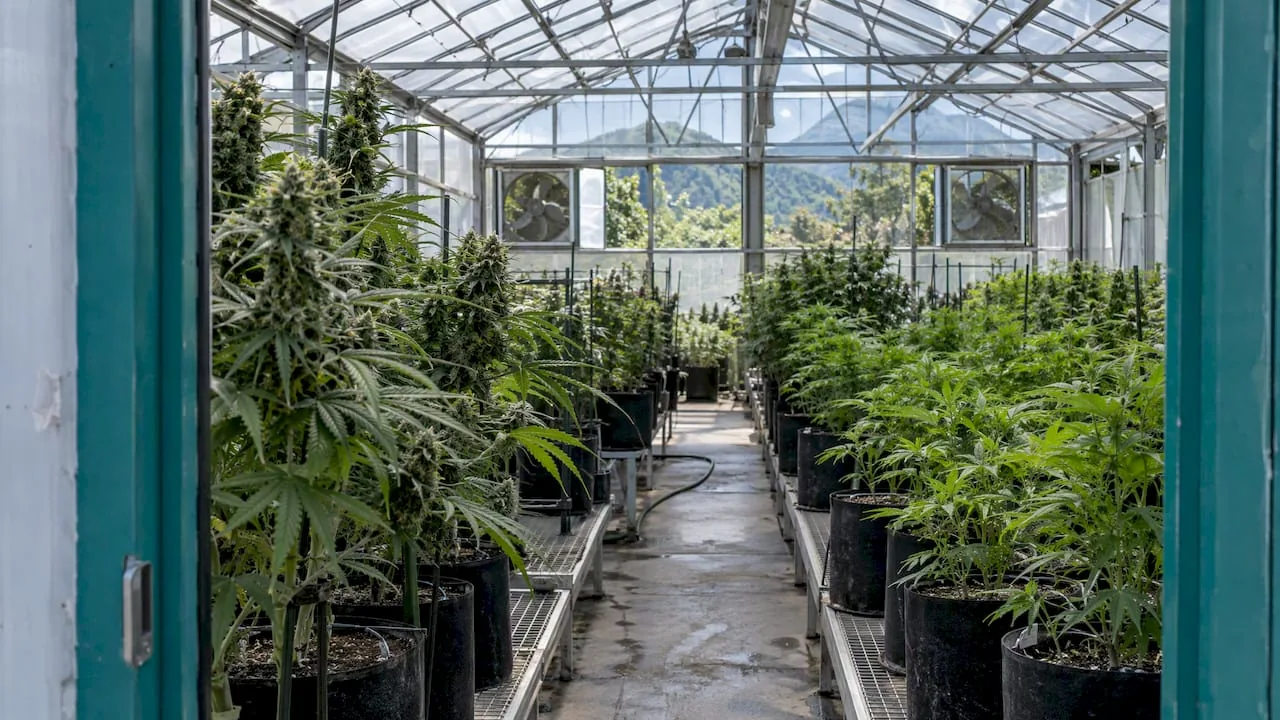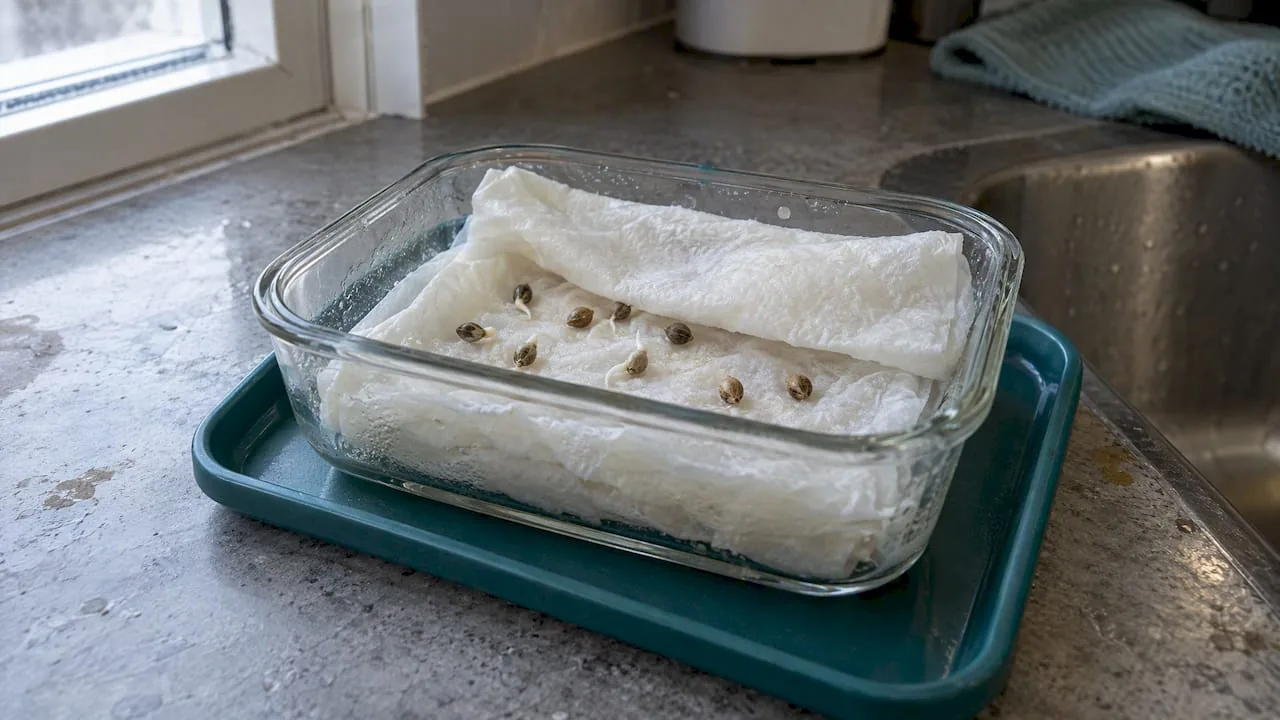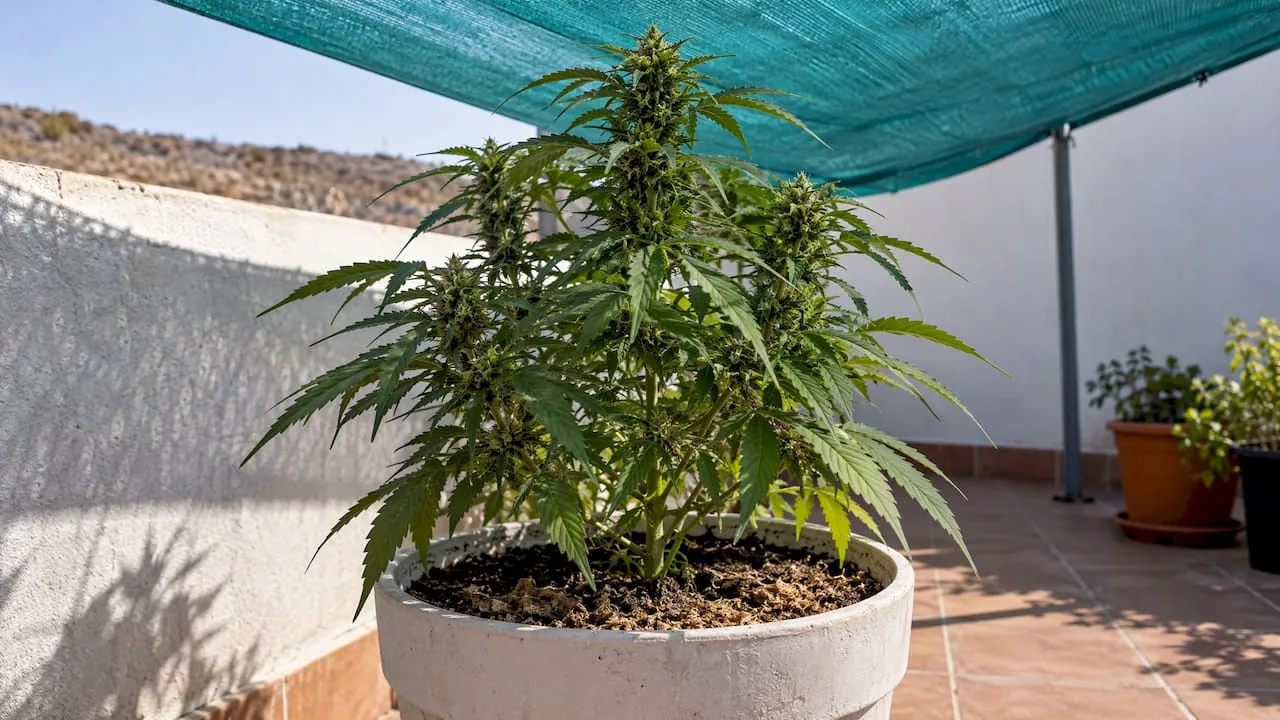


Real flowering times usually fall between 7 and 14 weeks in photoperiod varieties, with an optimal point close to 9 weeks in CBD-rich genotypes according to controlled studies. Autoflowering plants, on the other hand, flower by age and usually complete their cycle within 3 to 9 weeks from germination. The practical rule we follow: set the harvest date by observing the trichomes and when growth stalls, never just by the seed bank’s table.
In short:
- Autoflowering plants start to flower by age, between 3 and 6 weeks depending on the genetics; noting down the germination date improves your forecasting.
- Indoors, the 12/12 cycle induces flowering in most cultivars, although certain varieties complete development with up to 14 hours of light.
- Cannabinoid yield peaked at around the ninth week in a CBD-rich genotype, but certain sativas need 14 weeks.
- Harvest should be guided by milky or amber trichomes and by the slowing of growth, not just by commercial calendars.
- In late flowering, keeping humidity below 50 % and avoiding light leaks reduces the risk of mould and delayed ripening.
When flowering starts outdoors, indoors and in autoflowering plants
Outdoors, flowering starts when the days naturally begin to shorten, which in temperate latitudes usually happens in late summer. A photoperiod plant sown in spring will stay in the vegetative stage until the ratio of light to darkness crosses the threshold that triggers the hormonal flowering signal.
Indoors we have total control over that trigger. The classic method is the 12/12 photoperiod (12 hours of light and 12 of darkness), which reliably induces flowering in the vast majority of cultivars. However, recent research shows that somewhat longer photoperiods, of up to 14 hours, can also produce robust floral initiation in certain varieties, and even increase yield by providing more hours of daily light throughout the whole phase.
Autoflowering plants work with a different logic: they don’t depend on the photoperiod but on the age of the plant, genetically determined by their ruderalis ancestry. This simplifies planning, but it also introduces variability between genetics: some varieties start flowering at 3 weeks old and others take up to 5 or 6, so it’s always worth checking each seed’s product page rather than assuming a single calendar.
What determines the real start of flowering, in summary:
- Outdoors: the natural shortening of the days triggers flowering, usually between late July and August in the northern hemisphere.
- Indoors with photoperiod plants: switching to 12/12 hours of light and darkness induces flowering in a predictable way.
- Indoor growing with extended photoperiods: some cultivars tolerate up to 14 hours of light and still go through full flowering.
- Autoflowering: flowering depends on the plant’s age, not on light, with a start that varies by variety.
If we grow from the autoflowering catalogue, it is worth noting the exact germination date from day one: it is the only reliable reference point for working out when flowering will actually start for that particular genetic.
Real flowering duration and experimental evidence
The calendars that appear at most seed banks give an indicative figure, but the real duration depends on the genotype, the goal of the grow and the environmental conditions. A study on a CBD-rich genotype placed the optimal harvest point, measured by total cannabinoid yield, at around 9 weeks of flowering, after which the yield stopped increasing significantly.
Cannabinoid yield plateaus after a certain point of maturity: under controlled growing conditions, extending flowering beyond the ninth week did not translate into significant gains in CBD, according to the same study.
This doesn’t mean that all varieties should be harvested at 9 weeks. Some long-flowering sativas need 12 or even 14 weeks to develop their full cannabinoid and terpene profile, while certain indicas and modern hybrids are ready in 7 or 8. The key is the goal: if we are after maximum cannabinoid potency, the plateau point marks the reasonable limit for waiting any longer; if we prioritise biomass or a specific terpene profile, it may be worth extending by a few more days, always watching that the plant doesn’t start to degrade its resin.

Planning the harvest by observation, combining the appearance of the trichomes with the visible stalling of growth, avoids two common mistakes: harvesting too early, losing cannabinoid potential, or too late, when THC starts to degrade into less psychoactive compounds. Several studies agree that this plateau in cannabinoids after a certain point is a consistent pattern across genotypes, although the exact moment varies.
Weekly timeline: what happens and what to do week by week
Knowing what happens at each stage of flowering allows us to anticipate problems and adjust our approach before they turn into a lost harvest.
- Weeks 1 and 2: the plant shows pre-flowers and enters a vertical growth spurt that can double its height. It’s the time to keep an eye on the available space, slightly reduce nitrogen compared with the vegetative stage and keep watering steady without waterlogging.
- Weeks 3 to 5: the buds start to form and visibly gain volume. It’s a good idea to lightly prune the lower branches that receive little light and add support if the branches start to bend under the weight of the flowers.
- Weeks 6 to 9 or more: we enter the ripening phase, where the trichomes change from clear to milky and then to amber. This is when the root flush begins (water only, no nutrients) and the final trim is prepared before harvest.
In home growing, where space is usually limited, it is worth planning pruning and support from the second week to stop the plants from getting tangled up with each other. Fast version varieties squeeze these three phases into a shorter window, so it is a good idea to check the trichomes more often, because changes happen faster than in a standard photoperiod plant.
Pro tip: note down in a notebook or an app the date of each visible change (pre-flowers, bud formation, first amber trichome); after two or three cycles you’ll have your own calendar, more reliable than any generic data sheet.

Factors that alter flowering times: photoperiod, temperature, VPD and genetics
No flowering schedule is universal, because several environmental and genetic variables bring the process forward or delay it in measurable ways.
- Photoperiod: the standard 12/12 works for most cultivars, but trials with multiple photoperiods show that many varieties start flowering even with 14 hours of light, although some only do so partially at 15 hours, without completing floral development.
- Temperature: extreme temperatures, whether too high or too low, slow down phenological development and can delay bud maturation by several days compared with optimal conditions.
- VPD and CO₂: vapour pressure deficit and CO₂ concentration influence the rate of photosynthesis and, therefore, the pace of ripening; a poorly calibrated environment stresses the plant and can needlessly lengthen the cycle.
- Genetics and latitude of origin: varieties originating from equatorial latitudes tend to be less sensitive to small changes in photoperiod than those from temperate zones, which explains why the same 12/12 rule doesn’t work the same way in every cultivar.
Photoperiod sensitivity depends heavily on genotype: the same trial with varying photoperiods documented clear differences between cultivars in when they started and completed flowering under the same light conditions.
The interaction between light spectrum, nutrient management and genetics determines a good part of cannabinoid dynamics during these weeks, as noted in the Hohenheim thesis on light management. That is why two plants of the same variety, grown in different conditions, can finish flowering several days apart without that indicating any problem.
Identifying pre-flowers, sex and signs of maturity to decide when to harvest
Before thinking about harvest date, you need to confirm the plant’s sex and follow the development of its trichomes, which are the most reliable sign of true maturity.
- Male pre-flowers: small, rounded, pouch-like structures that appear at the nodes before they open.
- Female pre-flowers: a pair of thin white pistils emerging from an elongated calyx, already visible in the second or third week after the change in photoperiod.
- Clear trichomes: they indicate that the plant has not yet reached its cannabinoid potential, so it’s too early to harvest.
- Milky trichomes: they mark peak THC and are usually associated with a more stimulating or euphoric effect.
- Amber trichomes: they indicate the progressive degradation of THC into more sedating compounds; a high percentage of amber usually gives a more relaxing effect.
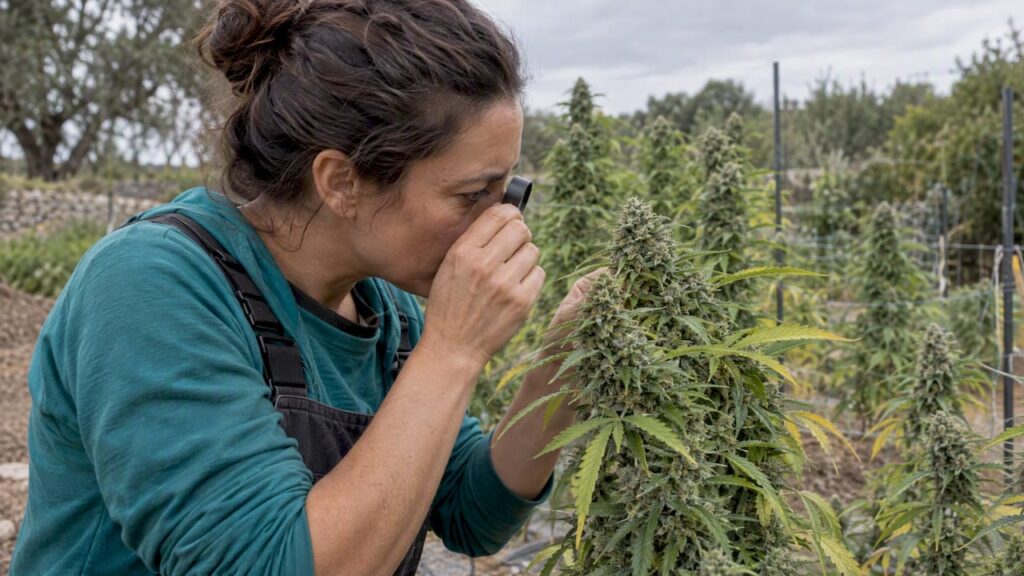
For a reliable reading it is best to use a magnifying glass or pocket microscope, as with the naked eye it is easy to misjudge the state of the trichomes. Alongside them, you need to look at the pistils (when most of them darken and curl inwards, the plant is close to its optimal point) and at the growth rate of the bud: when it stops gaining noticeable volume week after week, it is another sign that the end is near. Our guide to trichomes and maturity indicators goes into more detail on how to read each stage precisely.
Nutritional management and practices in the last weeks of flowering
The last three or four weeks of flowering are the ones that most influence the final quality of the bud, and that is where it pays to fine-tune nutrient management.
- Gradual nitrogen reduction: lowering the nitrogen supply in the final weeks helps avoid oxidative stress in the plant and supports a better final cannabinoid profile, according to the Hohenheim research on light and nutrient management, which even points to benefits of keeping nitrogen below a certain threshold under controlled conditions.
- EC and watering adjustment: as light intensity and water demand change, it’s worth recalibrating the electrical conductivity of the nutrient solution so that you neither overfeed nor underfeed the plant in its most demanding phase.
- Root flush: watering with plain water only during the last few days before harvest helps remove excess accumulated mineral salts, improving the flavour and burn of the final product.
- Final trim: removing large leaves that cover buds in the last week improves air circulation and makes the later drying easier, as long as it is done without over-stressing the plant.
Pro tip: start reducing nitrogen gradually, not all at once: an abrupt change in the final week can cause more stress than it is trying to avoid.
For anyone who wants to delve deeper into nutrient ratios and schedules, our flowering feeding guide covers the topic in more detail, week by week.
Common problems during flowering and quick solutions
Even with a well-planned calendar, unforeseen events arise that can delay flowering or compromise the quality of the harvest.
- Botrytis (bud rot): it appears mostly in humid, poorly ventilated environments; keeping relative humidity below 50 % in late flowering and ensuring good air circulation between plants drastically reduces the risk.
- Nutrient deficiencies or excesses: yellow leaves, burnt tips or spots can indicate a nutrient imbalance; checking the pH of the substrate is usually the first step before adjusting doses.
- Light leaks: any light entering during the dark phase can stress the plant and cause hermaphroditism or delays in ripening; checking the seal of the grow room is a simple and effective preventive measure.
- Photoperiod errors: an accidental change in the light schedule can partially reset the flowering clock in photoperiod plants; using reliable timers and checking them regularly avoids this setback.
Practical, proven tips
Combining what the studies show with direct observation of each grow is, in our experience, the most reliable way to get close to real flowering times.
- Set the harvest date by directly observing trichomes and biomass stagnation, drawing on references such as the Hohenheim study on the optimal cannabinoid point.
- Try slightly longer photoperiods, of 13 to 14 hours, on a small batch before applying them to the whole grow, following the evidence of variability between cultivars.
- Keep your own record of flowering cycles by variety: over time, that history is worth more than any generic seed bank table.
This quote sums up the central idea well: observing and documenting beats following a fixed calendar, especially when we grow the same genetic more than once and can compare results between cycles.
The author’s perspective on measuring and adjusting flowering times
After reviewing the available evidence, I believe the most common mistake is not choosing the wrong genetics, but blindly trusting the technical sheet without observing the actual plant in front of us. Every grow room has its own combination of light, temperature and handling, and that combination shifts the timings by a few days in either direction.
Documenting each cycle, however simple the record, turns experience into useful data for the next grow. And sharing those results with other growers, in forums or communities, speeds up everyone’s learning far more than any commercial calendar.
Final recommendation: seeds for different flowering time goals
If you’re after short, predictable cycles, our autoflowering seeds are designed for growers who prioritise speed without giving up stable genetics. For those who prefer the full control of a photoperiod plant with a flowering time of 7 to 9 weeks, it’s worth looking at our selection of Fast version seeds, with varieties chosen for their balance between speed and final bud quality. In both cases, we offer a carefully curated selection with discreet shipping and personalised tracking of every order so your grow gets off to a good start.
Frequently Asked Questions
How long does flowering time really last?
Photoperiod varieties usually need between 7 and 14 weeks of flowering, with an optimal cannabinoid peak observed at around 9 weeks in CBD-rich genotypes.
What are the stages of flowering?
Flowering is divided into three main phases: the initial stretch with the appearance of pre-flowers (weeks 1 and 2), the formation and fattening of buds (weeks 3 to 5) and the final ripening with the colour change in the trichomes (week 6 onwards). Each phase requires different adjustments to watering, nutrients and pruning.
What happens in the second week of flowering?
During the second week the plant is usually in the middle of its vertical growth spurt and the first visible pre-flowers begin to form at the nodes. It is a good time to slightly reduce nitrogen and prepare supports for the branches before the weight of the buds increases.
How do I know whether to lengthen or shorten my plant’s flowering?
The decision is based on observing the trichomes and on whether the bud is still gaining volume: if the trichomes are mostly milky and the biomass has stalled, it is time to harvest. Extending flowering beyond the point of stalling rarely brings meaningful cannabinoid gains, according to the available evidence.