

Your basket is currently empty!
Cannabis micro grow explained: the home grower’s guide
Most home growers assume micro cultivation means small harvests, complicated setups, and a steep learning curve. That assumption is wrong on all three counts. A cannabis micro grow explained properly reveals something more appealing: one well-managed plant in a 2×2 ft tent can yield 1 to 3 ounces of quality bud with a startup cost under $300. This guide walks you through everything you need to know, from gear and seed selection to training, environment control, and harvest timing, so you can turn a spare corner of your home into a productive, controlled grow space. 🌱
Table of Contents
- Understanding cannabis micro grows and ideal setups
- Choosing the right seeds for micro growing
- Training techniques to optimize yield in small spaces
- Managing environment variables for a successful micro grow
- Step-by-step cannabis micro grow lifecycle from germination to harvest
- Rethinking cannabis micro growing: What most growers overlook
- Start your cannabis micro grow with premium seeds from BLUEDOG GENETICS
- Frequently asked questions
Key Takeaways
| Point | Details |
|---|---|
| 2×2 ft tent ideal | A 2×2 foot tent fits one plant perfectly for manageable home micro grows with good environment control. |
| Use autoflower or feminized seeds | Autoflower seeds offer fast, simple grows; feminized seeds reduce male removal, both suited for small spaces. |
| Train early for better yields | Low-stress training spreads buds evenly, increasing yield and efficiency in limited vertical space. |
| Maintain strict environment control | Keep temperature, humidity, and vapor pressure deficit within specific ranges per growth stage for plant health. |
| Follow stepwise grow process | From germination to curing, each stage requires distinct care to maximize quality and harvest size. |
Understanding cannabis micro grows and ideal setups
Small scale cannabis growing starts with defining what “micro” actually means. In practice, a cannabis micro grow refers to cultivating one or two plants indoors, usually inside a 2×2 ft (60×60 cm) grow tent. As one grow guide confirms, a 2×2 ft tent is ideal for a single plant micro grow, giving you enough room for a fabric pot, airflow, and vertical canopy development without wasting energy or space.
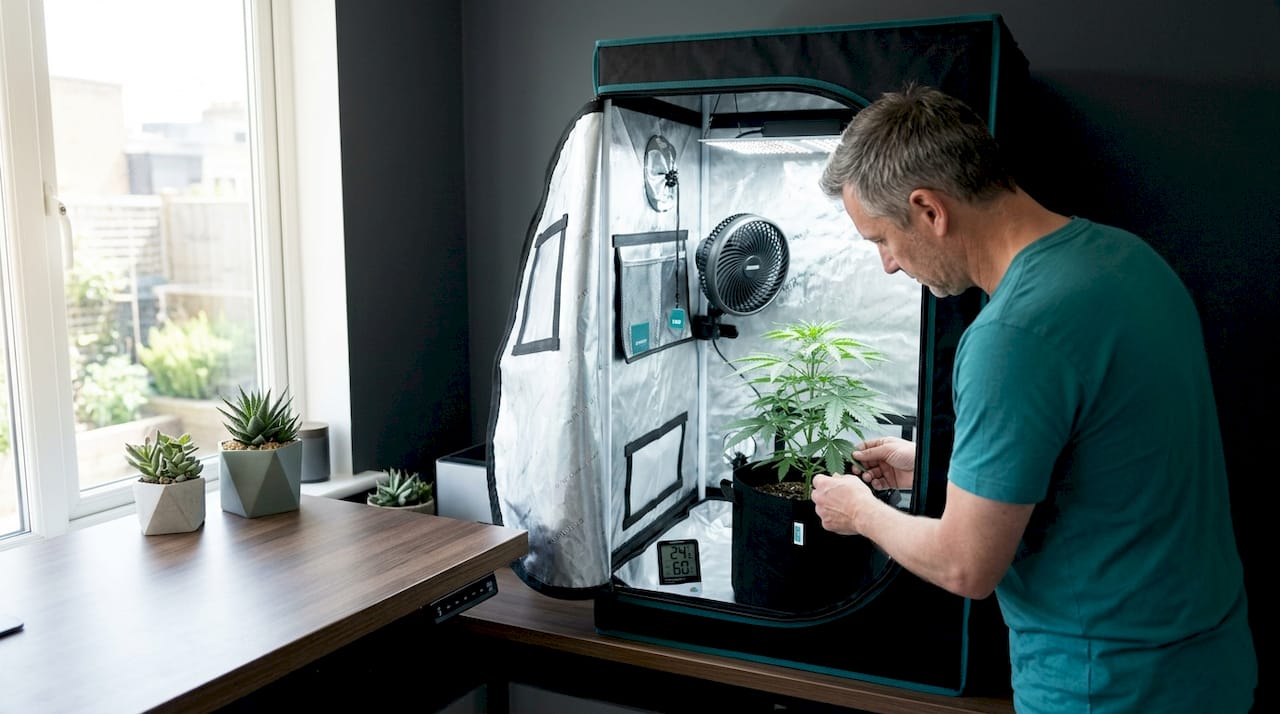
The beauty of micro cannabis cultivation is how self-contained and manageable it is. You’re not running ductwork through a basement or managing multiple rooms. You’re controlling one small ecosystem, and that’s actually an advantage, not a limitation.
Core equipment you’ll need:
- Grow tent (2×2 ft minimum, 4 ft tall)
- LED grow light (65W is sufficient for one plant)
- Exhaust fan with carbon filter to control odor and airflow
- Fabric pot (3 to 5 gallon) for better root oxygenation
- Hygrometer/thermometer combo to monitor temperature and relative humidity (RH)
- Timer to automate your light schedule
| Item | Estimated cost |
|---|---|
| 2×2 ft grow tent | $50–$80 |
| 65W LED grow light | $60–$100 |
| Exhaust fan + carbon filter | $50–$70 |
| Fabric pot + growing medium | $15–$25 |
| Hygrometer and timer | $20–$30 |
| Total estimate | ~$195–$305 |
💡 Pro Tip: Start with a plug-and-play LED that includes a built-in dimmer. You’ll want to dial down intensity during the seedling stage to avoid light stress.
For more detail on practical micro grow setups, including spacing and airflow tips, the Bluedog Genetics grow blog is worth bookmarking early.
Choosing the right seeds for micro growing
Seed selection is arguably the most important decision you’ll make before germination. Not all seeds suit confined spaces, and choosing wrong genetics can turn a manageable grow into a frustrating experience.
The three main types:
- Autoflowering seeds: These finish in about 8 to 12 weeks from seed to harvest and flower based on age, not light cycle. Ideal for beginners and tight spaces.
- Feminized seeds: Bred to produce only female plants, eliminating the guesswork of identifying and removing males. These pair well with autoflowering genetics.
- Regular seeds: Produce a roughly 50/50 mix of males and females. Useful for breeders, but adds unnecessary complexity to a micro grow.
| Seed type | Light dependency | Grow time | Best for micro grows? |
|---|---|---|---|
| Autoflowering | No | 8–12 weeks | ✅ Yes |
| Feminized | Yes (photoperiod) | 10–20 weeks | ✅ Yes (with proper control) |
| Regular | Yes (photoperiod) | 10–20 weeks | ⚠️ Not recommended |
For a micro grow, feminized autoflowers are the gold standard. They stay compact, flower predictably, and remove the risk of accidental pollination from male plants. You can explore a strong selection of premium feminized and autoflower seeds specifically suited for small space growing.
💡 Pro Tip: Look for strains labeled “dwarf” or “compact” when browsing autoflower options. These are bred to stay under 24 inches tall, which matters a lot inside a 2×2 tent.
For additional seed type guidance for micro growing, including strain-specific recommendations, check the grow resources on site.
Training techniques to optimize yield in small spaces
Training is what separates a mediocre micro grow from an impressive one. Spreading the canopy increases bud exposure, which directly translates to more yield in limited vertical space. You’re not just growing a plant, you’re shaping it.
The three techniques worth knowing:
- Low-stress training (LST): Gently bending and tying stems horizontally so the plant grows wide instead of tall. More bud sites reach the light without stressing the plant.
- Topping: Cutting the main stem tip to create two equal colas (main buds) instead of one dominant one. This encourages a bushier, more even canopy.
- SCROG (Screen of Green): Stretching a net screen above your canopy and weaving branches through it as they grow. This keeps everything flat, even, and maximally exposed to your LED.
Steps for applying LST effectively:
- Wait until your plant has 3 to 4 nodes (pairs of leaves) before bending.
- Use soft plant ties or garden wire with rubber coating to avoid damaging stems.
- Anchor the tie to the rim of your fabric pot, pulling the main stem gently sideways.
- As new growth reaches upward, bend and tie again every few days.
- Continue until the plant fills the available horizontal space before flowering begins.
“The goal is not to fight the plant, it’s to redirect its energy. A flat canopy means every bud site gets the same light intensity, and that’s what drives uniform yield.”
💡 Pro Tip: For autoflowers specifically, start LST by week 2 to 3. You won’t get extra veg time to recover if you start too late.
You can read more about specific cannabis training techniques and which methods suit different strain types in the Bluedog Genetics grow blog.
Managing environment variables for a successful micro grow
Environment control is where how to micro grow cannabis gets technical, but it doesn’t have to be overwhelming. Four variables matter most: temperature, relative humidity, light intensity (measured in PPFD, or photosynthetic photon flux density), and VPD (vapor pressure deficit, a measure of how much moisture the air can still absorb).
During the vegetative stage, target a VPD of 0.8 to 1.2 kPa, temperatures between 72 and 82°F, and RH of 50 to 65%. These conditions promote fast, healthy leaf growth without stressing the plant.
| Growth stage | Temp (°F) | RH (%) | VPD (kPa) | PPFD target |
|---|---|---|---|---|
| Seedling | 70–78 | 65–70 | 0.4–0.8 | 200–300 |
| Vegetative | 72–82 | 50–65 | 0.8–1.2 | 400–600 |
| Flowering | 68–78 | 40–50 | 1.0–1.8 | 600–1000 |
Key environmental rules:
- Drop RH to 40 to 50% in late flowering to prevent bud rot (botrytis), which thrives in humid, stagnant air.
- Photoperiod plants need a strict 12 hours of uninterrupted darkness to trigger and maintain flowering.
- Keep your exhaust fan running continuously to refresh air and prevent hot spots directly under the light.
📊 Stat to know: A consistent PPFD drop below 400 during flowering can reduce yield by 30 to 40%, making your light schedule and positioning just as important as genetics.
💡 Pro Tip: Invest in a VPD chart and tape it inside your tent. Cross-reference your thermometer and hygrometer readings daily during the first grow until you instinctively know your target ranges.
Managing your indoor environment control gets easier after one grow. The second cycle, you’ll make adjustments faster and with more confidence.
Step-by-step cannabis micro grow lifecycle from germination to harvest
Here’s the full process, start to finish.
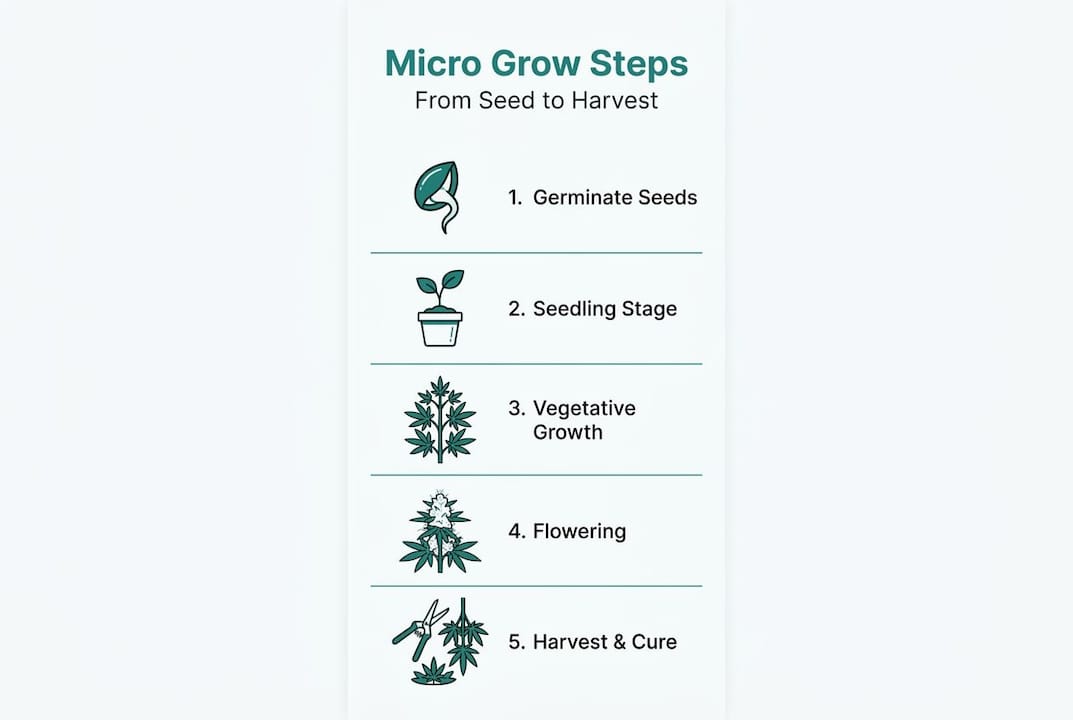
1. Germination (days 1 to 7)
Soak your seeds in a glass of room-temperature water for 12 to 24 hours. Then place them between two moist paper towels and keep warm at 70 to 78°F. A taproot will appear within 1 to 7 days. Move to soil once the taproot is 0.5 to 1 cm long.
2. Seedling stage (days 7 to 21)
Place seedlings under 18 hours of light at 200 to 300 PPFD. Avoid overwatering. The seedling needs air in the soil, not constant moisture.
3. Vegetative stage (weeks 3 to 8 for photoperiod, shorter for auto)
Increase light intensity gradually to 400 to 600 PPFD. Begin LST at weeks 3 to 4. Feed nitrogen-heavy nutrients and monitor VPD daily.
4. Flowering stage
Autoflowers begin flowering by age, usually around weeks 4 to 5, without any light schedule change. Photoperiod plants require switching to a 12/12 light cycle (12 hours on, 12 hours off) to trigger flowering. Increase PPFD to 600 to 1000 and reduce RH.
5. Harvest timing
Use a jeweler’s loupe or digital microscope to check trichomes on the buds. Clear trichomes mean too early. Cloudy white trichomes signal peak THC. Amber trichomes indicate the cannabinoids are degrading into a more sedative profile. Harvest when you see mostly cloudy with some amber.
6. Drying and curing
Hang trimmed branches upside down in a dark, ventilated space at 60 to 65°F and 55 to 60% RH for 7 to 14 days. Then jar-cure for at least 2 to 4 weeks, burping jars daily for the first week. This step is where flavor and smoothness develop.
💡 Pro Tip: Use a seed germination guide before your first grow to avoid the most common early mistakes that kill seedlings before they get started.
Rethinking cannabis micro growing: What most growers overlook
Here’s an opinion that runs counter to how most beginner content frames micro grows: bigger is not better for new growers. A larger setup doesn’t mean more control. It usually means more variables, more cost when something goes wrong, and a longer learning curve.
One well-trained plant in a 2×2 tent teaches you everything. Nutrient management, environment dialing, canopy control, harvest timing. All of it. And the cost of a mistake is low. You lose one plant, not a room full of them.
Training timing matters more for autoflowers because you cannot extend the veg phase to recover from stress or missteps. This is the most common mistake we see: growers top or stress an autoflower too late, the plant hits its genetic flowering trigger, and there’s no canopy to work with. Start early, be gentle, and stay consistent.
The other thing most growers overlook is record-keeping. Log your PPFD readings, feeding schedules, VPD numbers, and observations after each watering. By grow three, you’ll have a repeatable system that produces predictable results. That’s not something you stumble into. You build it deliberately.
For insider insights on micro growing, including lessons from experienced cultivators, the Bluedog Genetics blog is a resource worth returning to between grows.
Start your cannabis micro grow with premium seeds from BLUEDOG GENETICS
Choosing the right genetics is the foundation of every successful micro grow, and that’s exactly where BLUEDOG GENETICS can help. Their catalog includes a wide range of premium feminized and autoflower cannabis seeds selected for compact growth, strong yields, and reliable performance in small indoor spaces. Whether you’re setting up your first 2×2 tent or refining a system you’ve already grown in, the right strain makes a measurable difference. Beyond seeds, the cannabis growing blog for tips and guides gives you practical, grow-tested advice to support every stage of your cultivation. You can also browse seed banks and genetics selections to find strains from trusted breeders that match your grow goals and available space.
Frequently asked questions
What size tent is best for a cannabis micro grow?
A 2×2 ft tent (about 60×60 cm) is the most widely recommended size for a single cannabis plant, offering enough room for a fabric pot, airflow, and canopy training while keeping costs and complexity low.
Why choose autoflower seeds for a micro grow?
Autoflower seeds finish in 8 to 12 weeks from seed to harvest and flower based on age rather than light schedule, making them the simplest and fastest option for growers working in limited space.
How important is training for micro grows?
Canopy training increases bud exposure and yields in small spaces, making techniques like LST and SCROG essential tools rather than optional extras for any serious micro grow.
What environment conditions suit micro grows?
Maintain temperatures of 72 to 82°F and RH of 50 to 65% during vegetative growth, with a VPD of 0.8 to 1.2 kPa for healthy, efficient plant development.
How long does it take to finish a cannabis micro grow?
Autoflowers complete seed-to-harvest in 8 to 12 weeks, while photoperiod plants take longer since they require a light schedule change to 12/12 to trigger flowering on top of a vegetative growth phase.
Recommended
- Cannabis blog – Your cannabis garden – BLUEDOG GENETICS Seeds
- Guía completa para germinar semillas de cannabis – BLUEDOG GENETICS Seeds
- Guía definitiva para el autocultivo de cannabis en Alemania – BLUEDOG GENETICS Seeds
- Premium Feminized and Autoflowering Cannabis Seeds
Leave a Reply
You must be logged in to post a comment.